Xylophone App
/ 3 min read
Table of Contents
In roughly an hour or two, I created an iOS app for our son who loves playing his Xylophone. I came upon this old repo for inspiration and reference. This was still developed using Storyboard and UIKit. So, I set out to write my own using SwiftUI.
I also borrowed their sound files. The owner of these files belongs to them.
The code looks like this initially.
//// Xylo//// Created by Lawrence Gimenez on 4/23/23.//
import SwiftUIimport AVFoundation
var audioPlayer: AVAudioPlayer!
struct PlayerView: View {
var body: some View { VStack { Button(action: { play(sound: "C") }) { Text("C") .foregroundColor(.white) .frame(maxWidth: .infinity, minHeight: 90) } .background(Color.red) Button(action: { play(sound: "D") }) { Text("D") .foregroundColor(.white) .frame(maxWidth: .infinity, minHeight: 90) } .background(Color.orange) Button(action: { play(sound: "E") }) { Text("E") .foregroundColor(.white) .frame(maxWidth: .infinity, minHeight: 90) } .background(Color.yellow) Button(action: { play(sound: "F") }) { Text("F") .foregroundColor(.white) .frame(maxWidth: .infinity, minHeight: 90) } .background(Color.green) Button(action: { play(sound: "G") }) { Text("G") .foregroundColor(.white) .frame(maxWidth: .infinity, minHeight: 90) } .background(Color.teal) Button(action: { play(sound: "A") }) { Text("A") .foregroundColor(.white) .frame(maxWidth: .infinity, minHeight: 90) } .background(Color.indigo) Button(action: { play(sound: "B") }) { Text("B") .foregroundColor(.white) .frame(maxWidth: .infinity, minHeight: 90) } .background(Color.purple) Button(action: { play(sound: "C") }) { Text("C") .foregroundColor(.white) .frame(maxWidth: .infinity, minHeight: 90) } .background(Color.red) } .frame(maxWidth: .infinity, maxHeight: .infinity) }
private func play(sound: String) { let _ = print("Play \(sound)") let url = Bundle.main.url(forResource: sound, withExtension: ".wav") audioPlayer = try! AVAudioPlayer(contentsOf: url!) audioPlayer.prepareToPlay() audioPlayer.play() }}
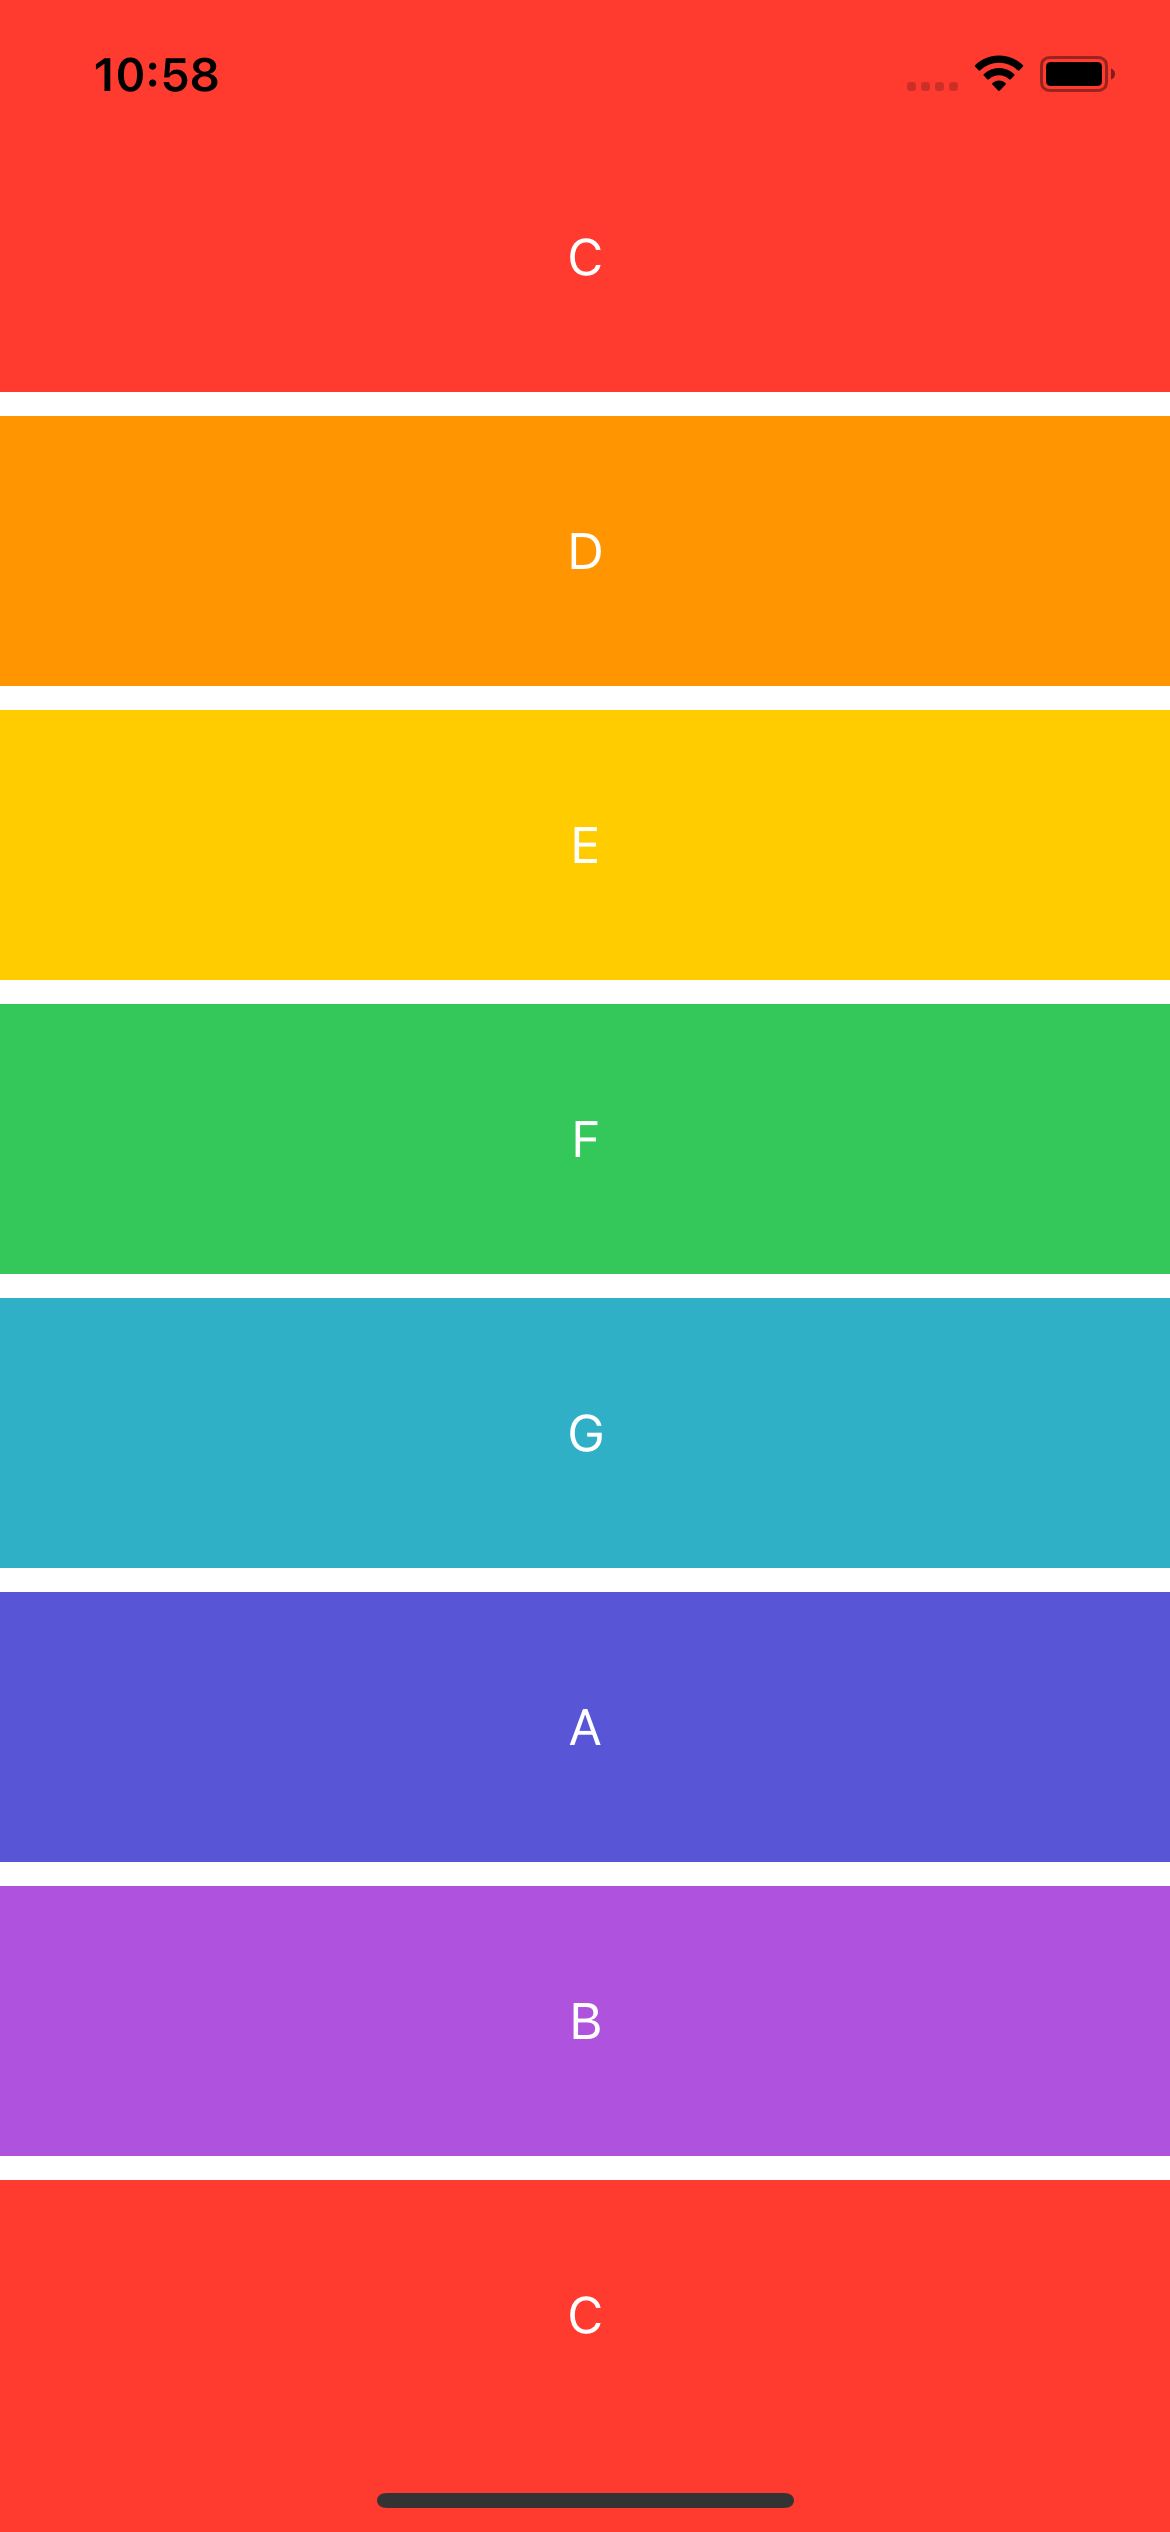
struct PlayerView_Previews: PreviewProvider { static var previews: some View { PlayerView() }}And here’s what it looks like on the device.
If you notice, the code is so long and redundant. We can do better. Let’s refactor our code by creating a model class so we can use it inside a loop.
Refactor Time
Let’s create a Key model. I imported SwiftUI since I need the Color class.
import SwiftUI
struct Key: Identifiable {
    var id: Int    var note: String    var color: Color}
Go back to our PlayerView class and let’s create an array based on the Key model.
private var arrayKeys = [ Key(id: 0, note: "C", color: Color.red), Key(id: 1, note: "D", color: Color.orange), Key(id: 2, note: "E", color: Color.yellow), Key(id: 3, note: "F", color: Color.green), Key(id: 4, note: "G", color: Color.teal), Key(id: 5, note: "A", color: Color.indigo), Key(id: 6, note: "B", color: Color.purple), Key(id: 7, note: "C", color: Color.red)]Let’s update our body based on our newly created array.
var body: some View { VStack { ForEach(arrayKeys) { key in Button(action: { play(sound: key.note) }) { Text(key.note) .foregroundColor(.white) .frame(maxWidth: .infinity, minHeight: 90) } .background(key.color) } } .frame(maxWidth: .infinity, maxHeight: .infinity)}Much better. Code is now shorter, if I want to add another key, I would just add another Key object to our array.
You can check the whole source code here. The project is compiled using the latest Xcode 14.3.